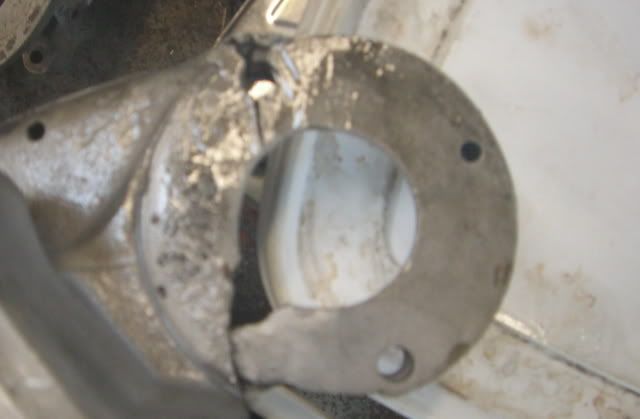
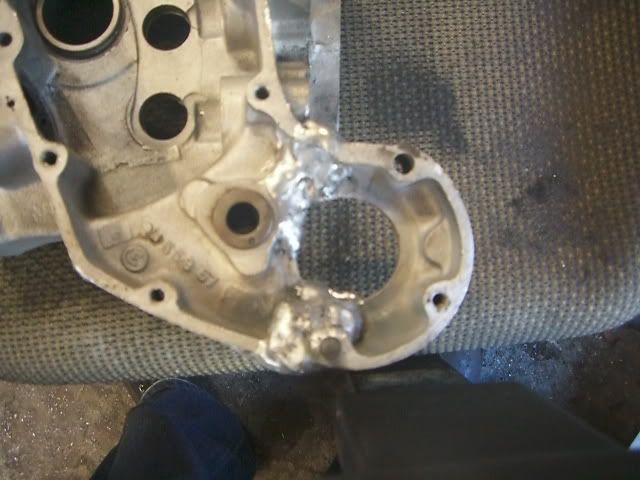
Anyway, the cases had a bunch of attempts at repair done by someone long before I ever got hold of them. I started by removing as much of the crappy welds as possible:
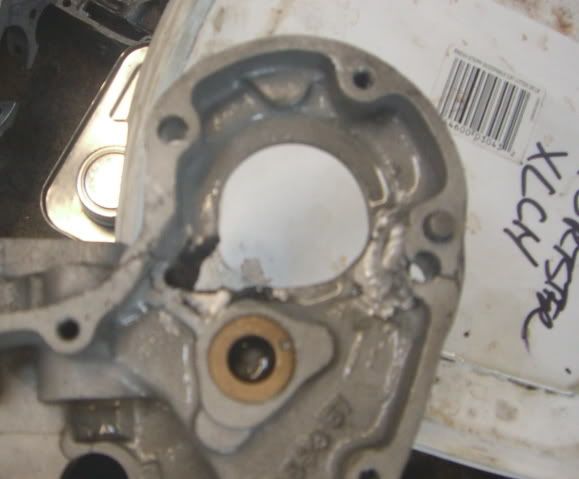
And then TIG welded this portion (generator mount). To do this, I used the engine's cam cover to hold the broken generator mount on the case while I welded it on the back side. Then I removed the cover, and welded the rest after the initial welds cooled:
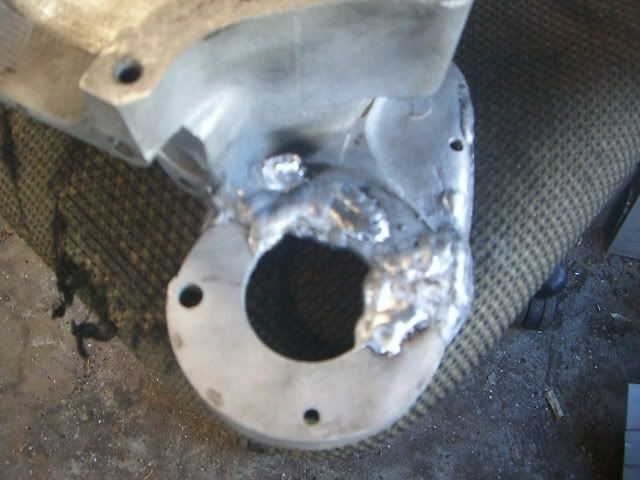
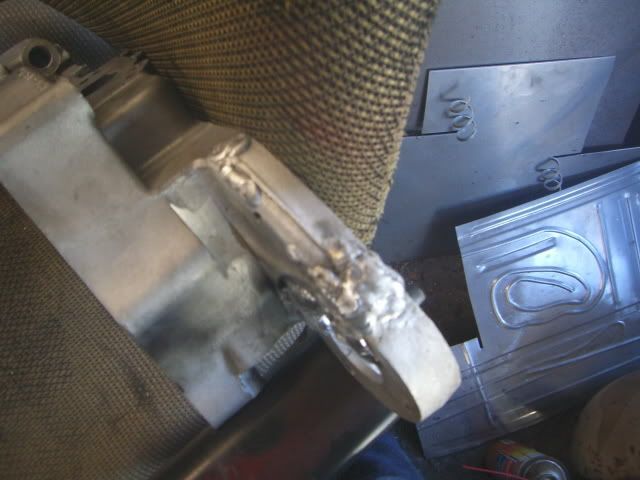
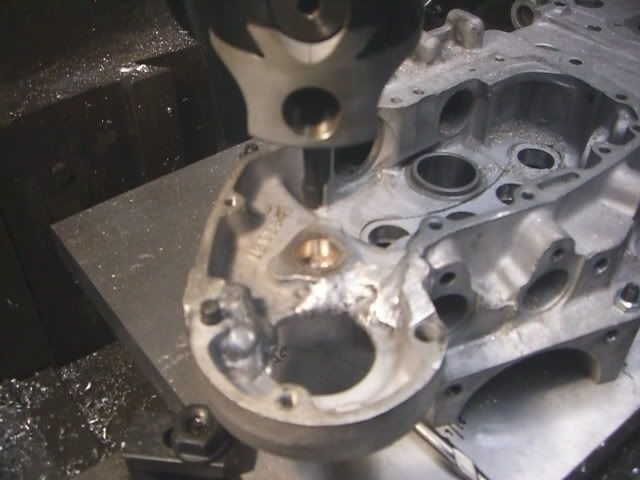
Machining the welds provided an interesting set of problems. First, I bought a big piece of aluminum plate, and then drilled and counterbored holes in it that match the holes in the engine case halves. (This way I can set the engine cases on my mill's table and can clamp the plate rather than the cases.) Next, I set the plate/case up on my Bridgeport, and used a boring head to remove the welds on the ID of the generator mount:
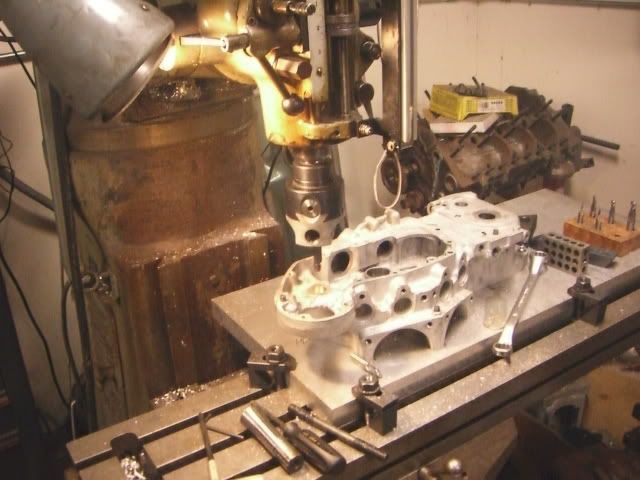
While I had the case half on my mill, I also removed the idler gear bushing. It was worn out and stuck in it's bore, so I used the boring head to remove it as well. I was pretty chicken shit about it, so I only took .005"-.010" at a pass, and it took FOREVER. (I actually did that first, because by the time I got everything set up, I still had to dial it all in, and doing that on the bushing was way easier than on the lumpy, welded ID of the generator mount. Centering the spindle over the bushing took about a minute; centering the spindle over the generator mount took about 20 minutes total.)
FWIW, this isn't voodoo or black magic or anything. I just couldn't find much information on repairing engine cases (lot's of photos, but not much actual information), so I decided to give it a shot myself, and document it as I go.
Anyway, more as I progress.

No comments:
Post a Comment